nodejs包管理器配置代理和仓库
配置远程仓库
1 | npm config set registry https://registry.npm.taobao.org/ |
npm设置代理
1 | npm config set proxy="<http_proxy>" |
npm删除代理
1 | npm config delete proxy |
yarn设置代理
1 | yarn config set proxy <http_proxy> |
yarn删除代理
1 | yarn config delete proxy |
toscks配置文件
1 | # This is the configuration for libtsocks (transparent socks) |
drone流水线使用软链接替换版本
流程
- 编译
- 拷贝
- 重命名
- 存储
- 软连接重定向
- 运行
- 检查运行状态
- 运行失败
- 回退版本-重新指向上个版本
nextcloud搭建-docker-compose
docker-compose文件
1 | version: '3.5' |
常用命令
常用命令
1 | apt install netcat-traditional -y |
v2ray反向代理
V2ray反向代理
内网节点
1 | { |
公网节点
1 | { |
SoftetherVPN搭建虚拟局域网
Softether使用
服务器端
安装软件
1 | apt install gcc make gcc-multilib -y |
下载好源码
1 | tar -xf softether-vpnserver-v4.34-9745-rtm-2020.04.05-linux-x64-64bit.tar.gz |
编译
1 | make |
启用服务
1 | ./vpnserver start |
acme.sh证书转换为p12
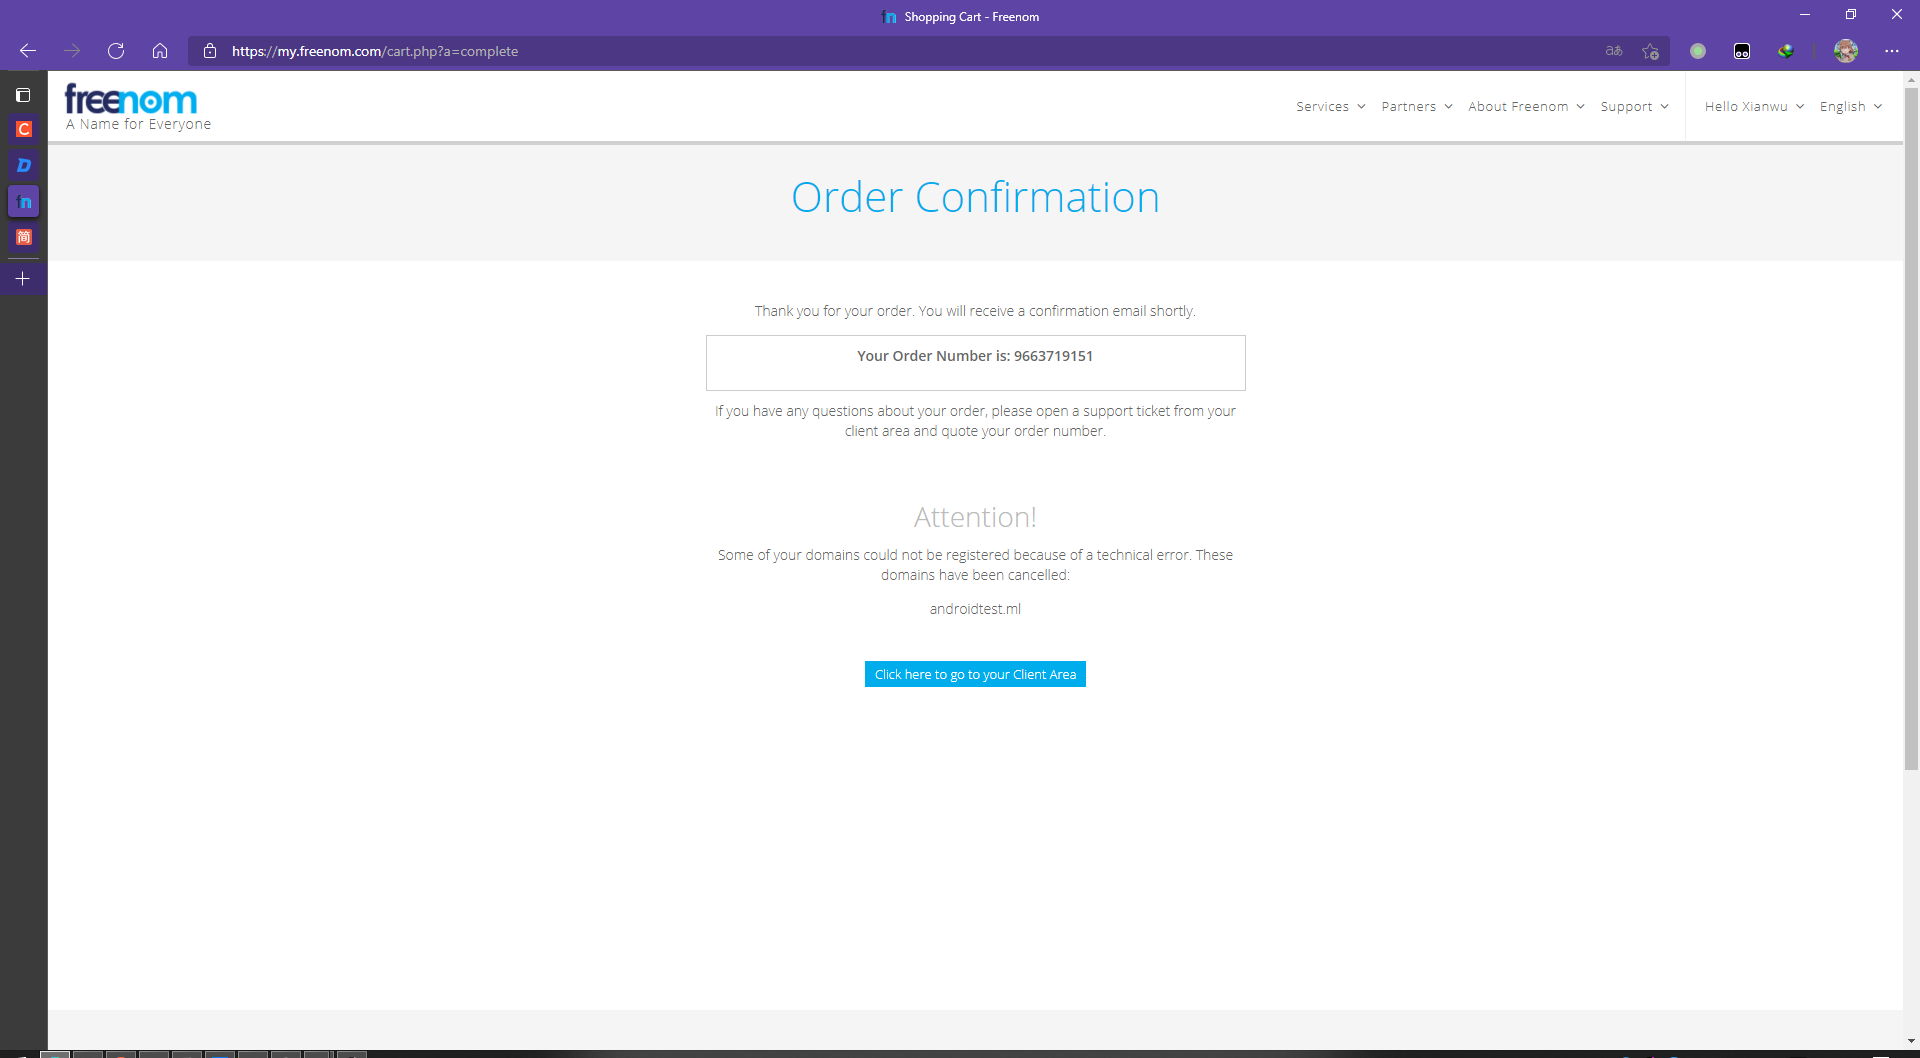
注册域名(例如Freenom)以及找到DNS服务商(例如:DNSPod-免费智能DNS解析服务商-电信_网通_教育网,智能DNS)
注册域名
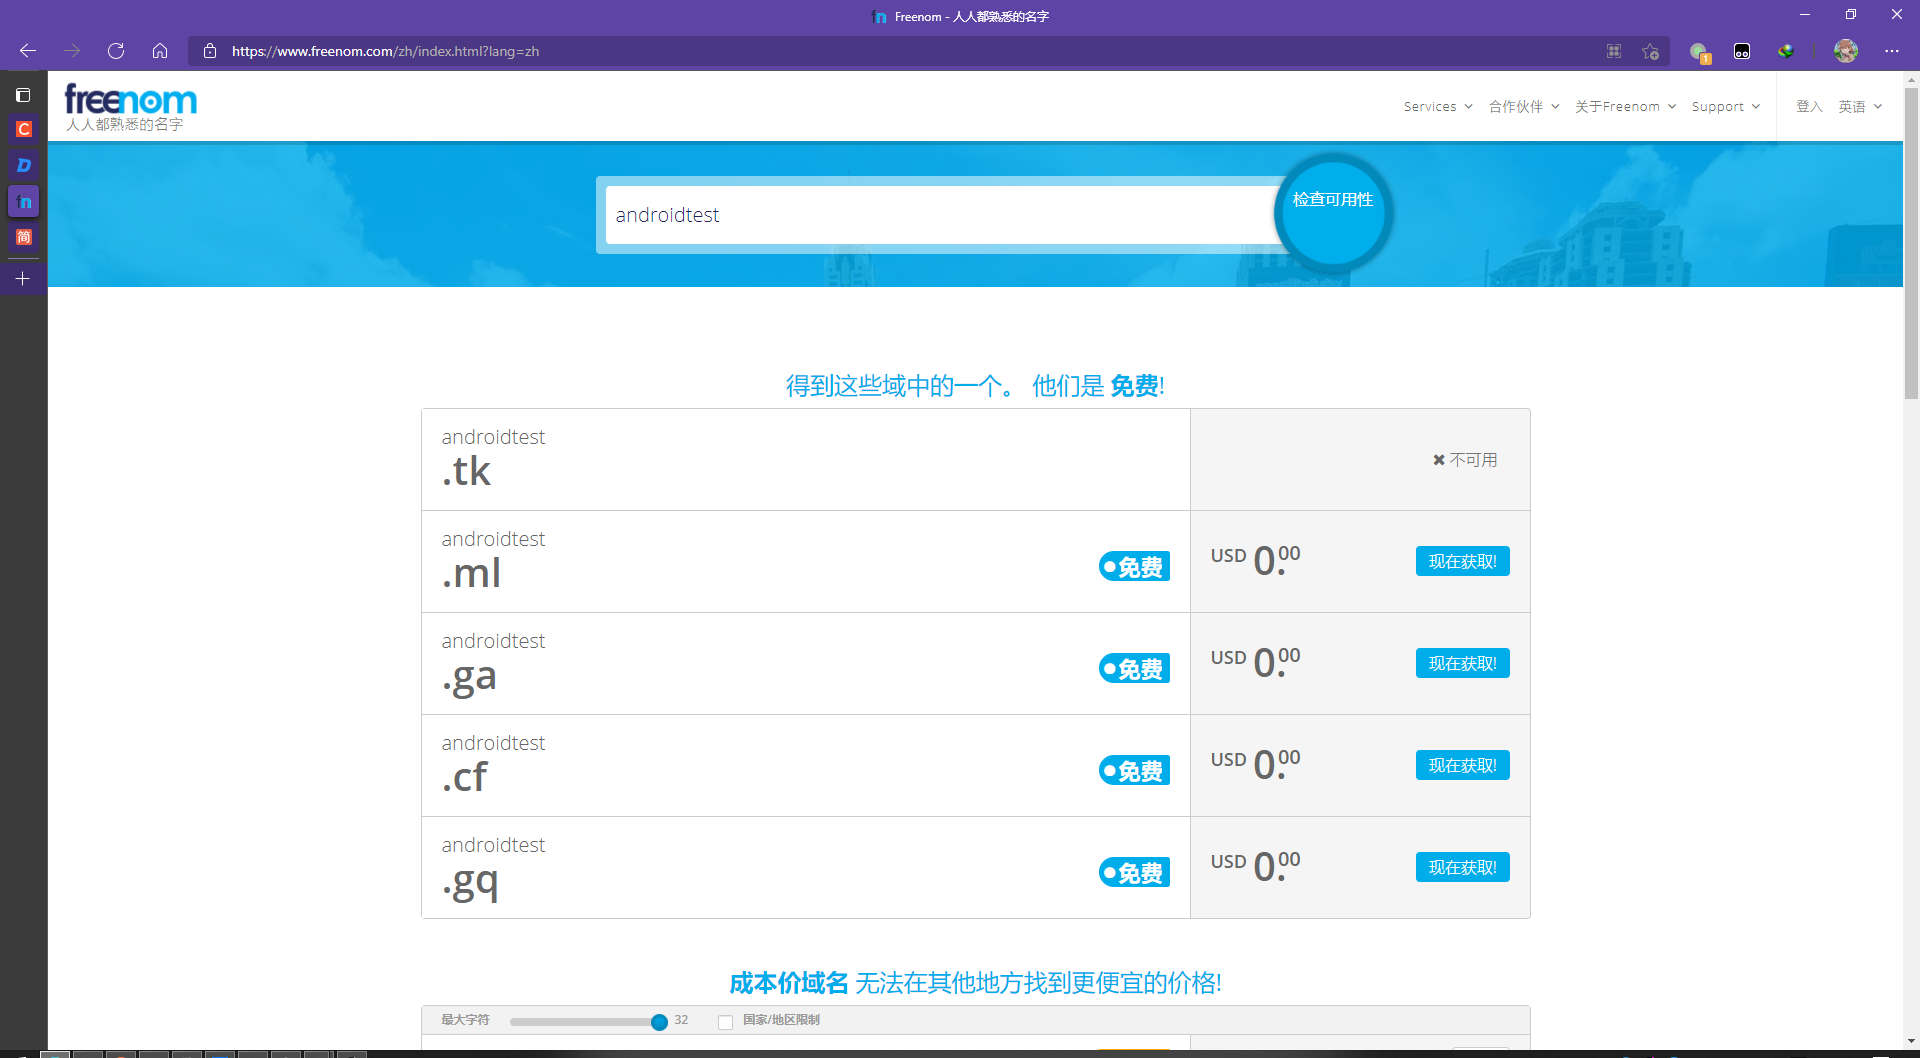
这里是因为国内的ip不能注册免费域名,如何可以,请使用科学上网
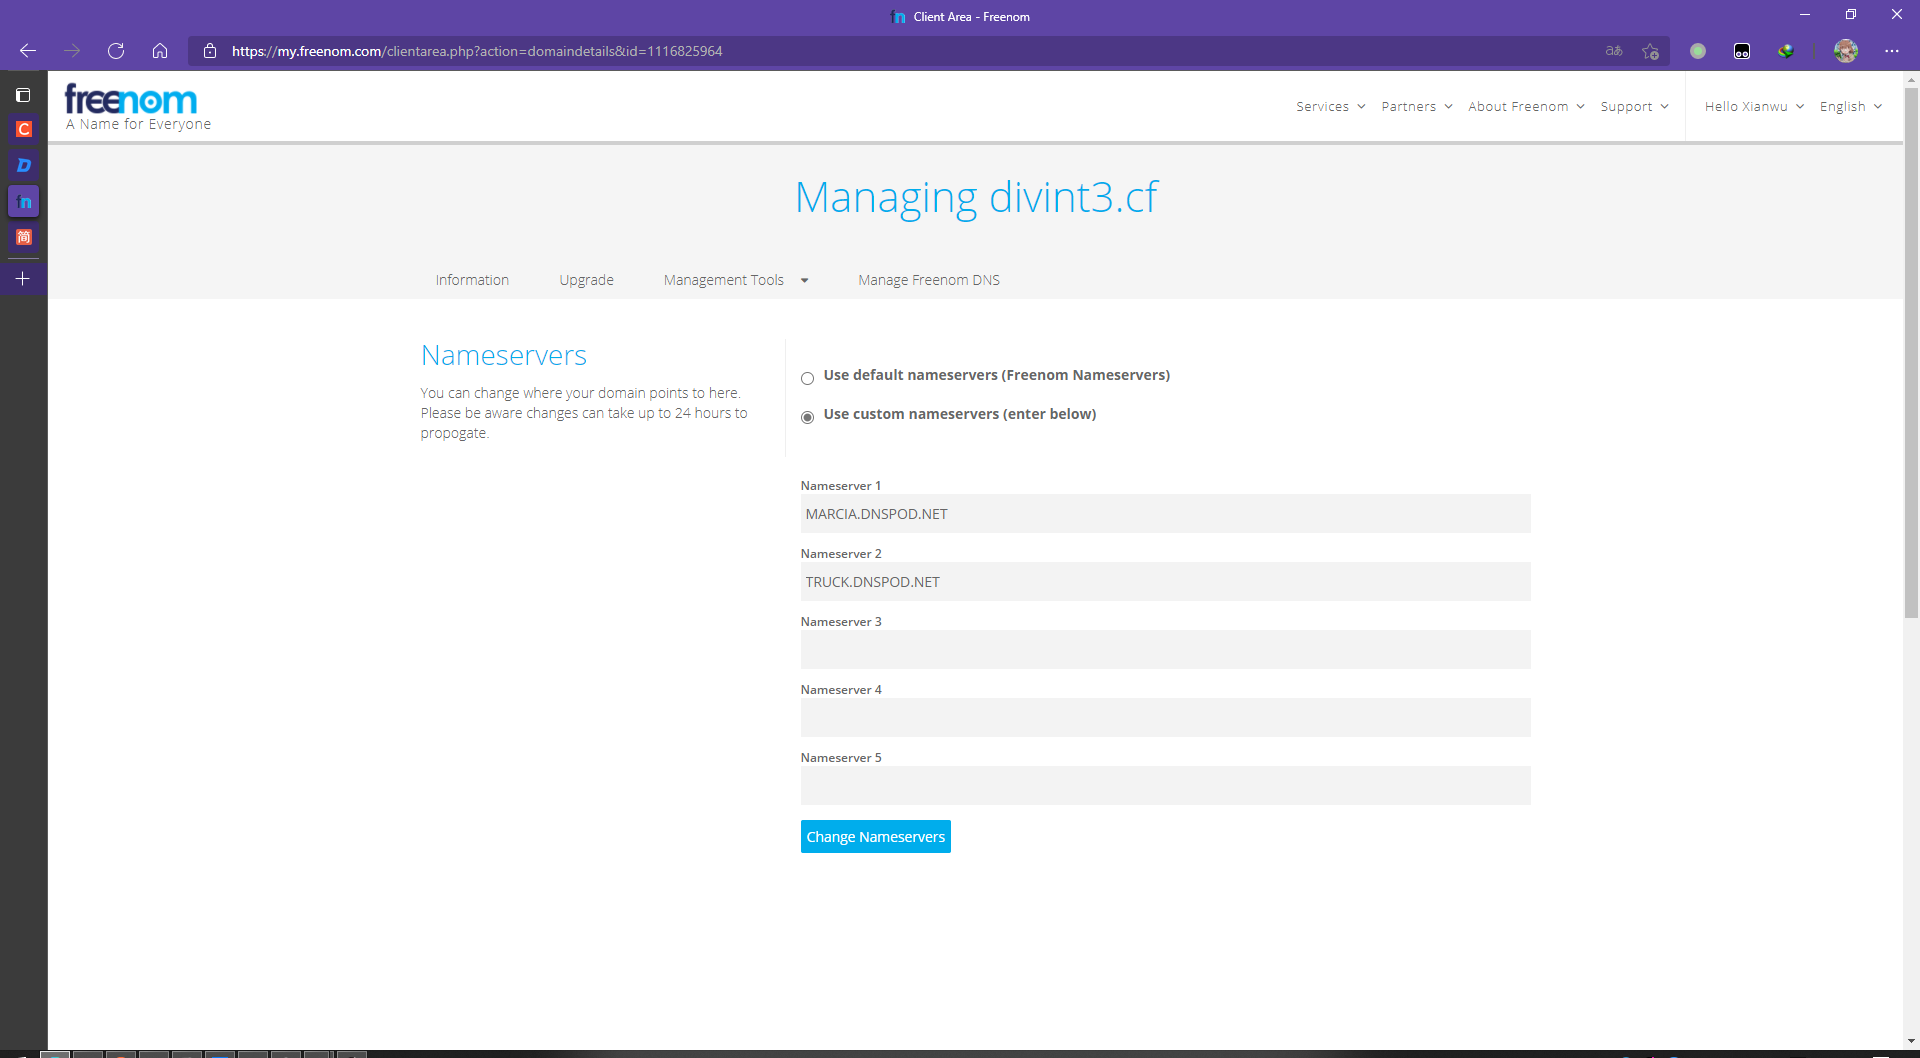
修改到DNSPod域名服务器
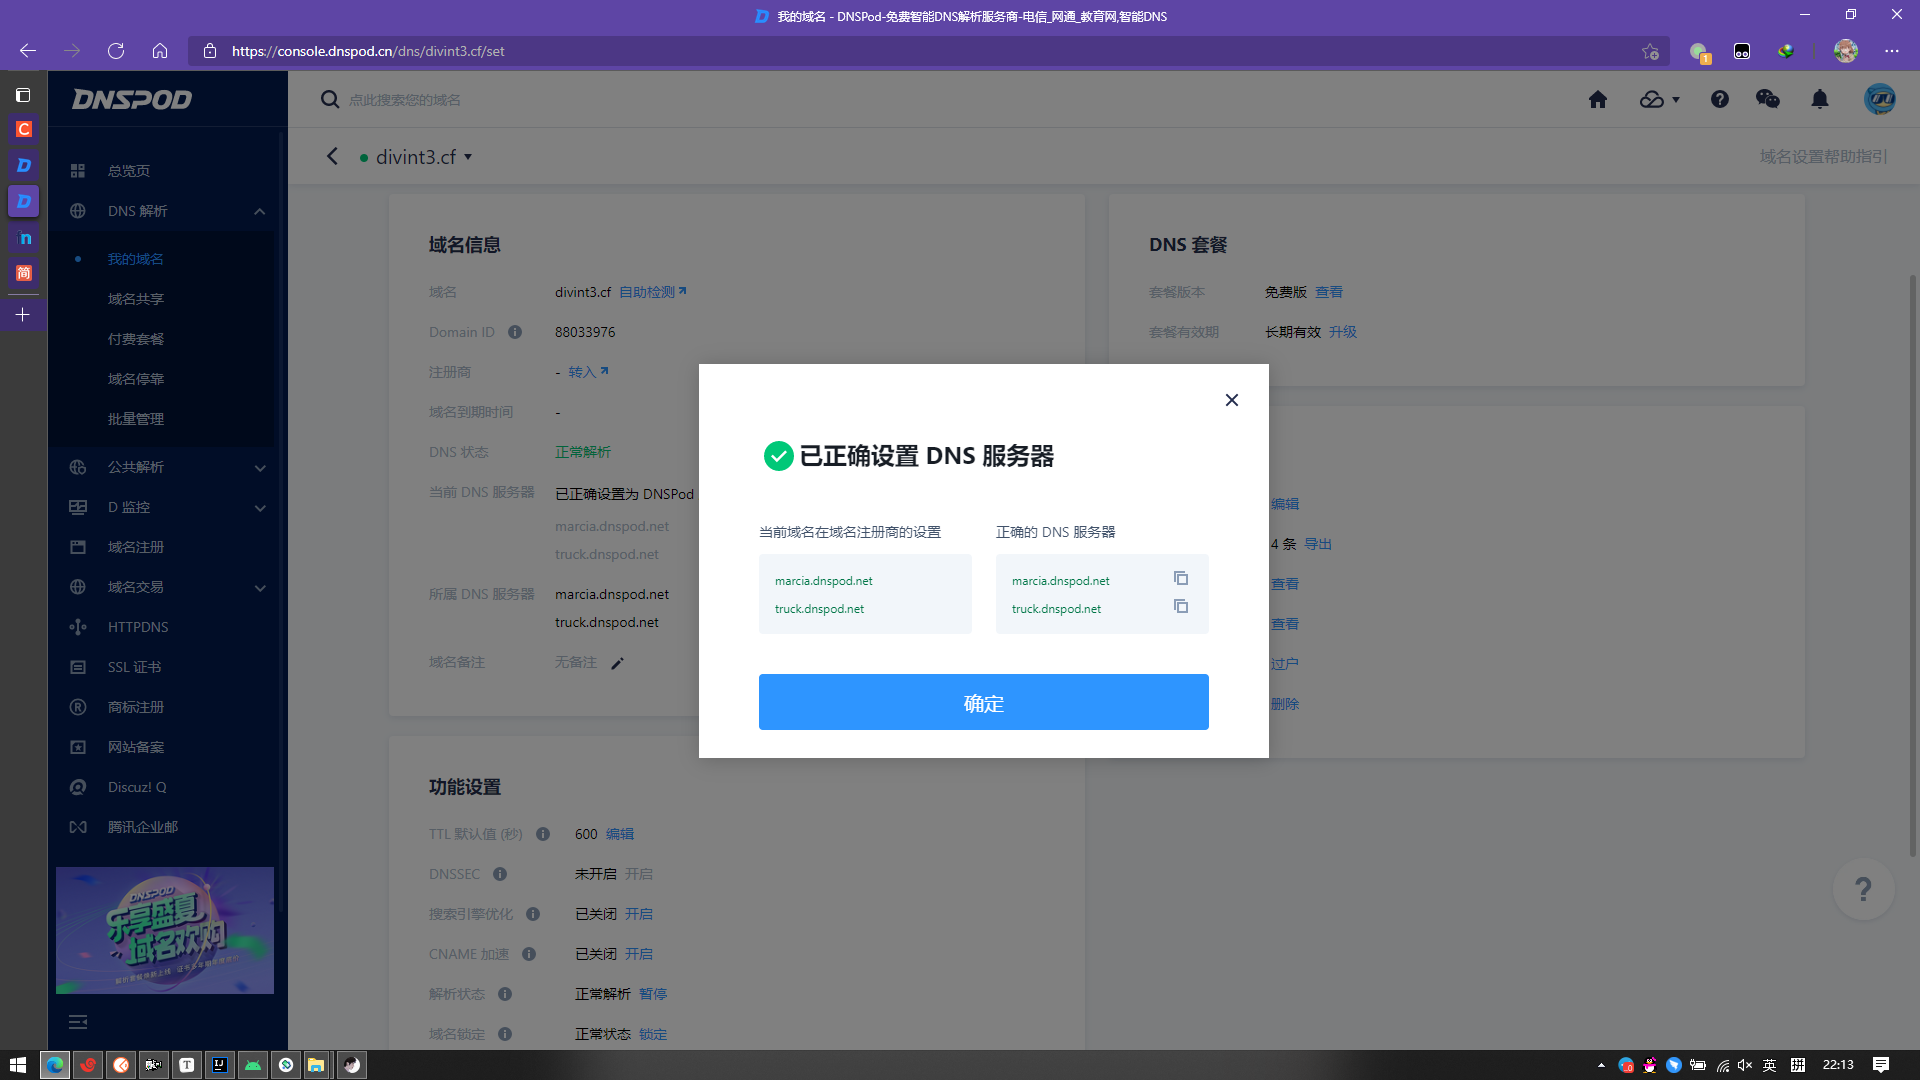
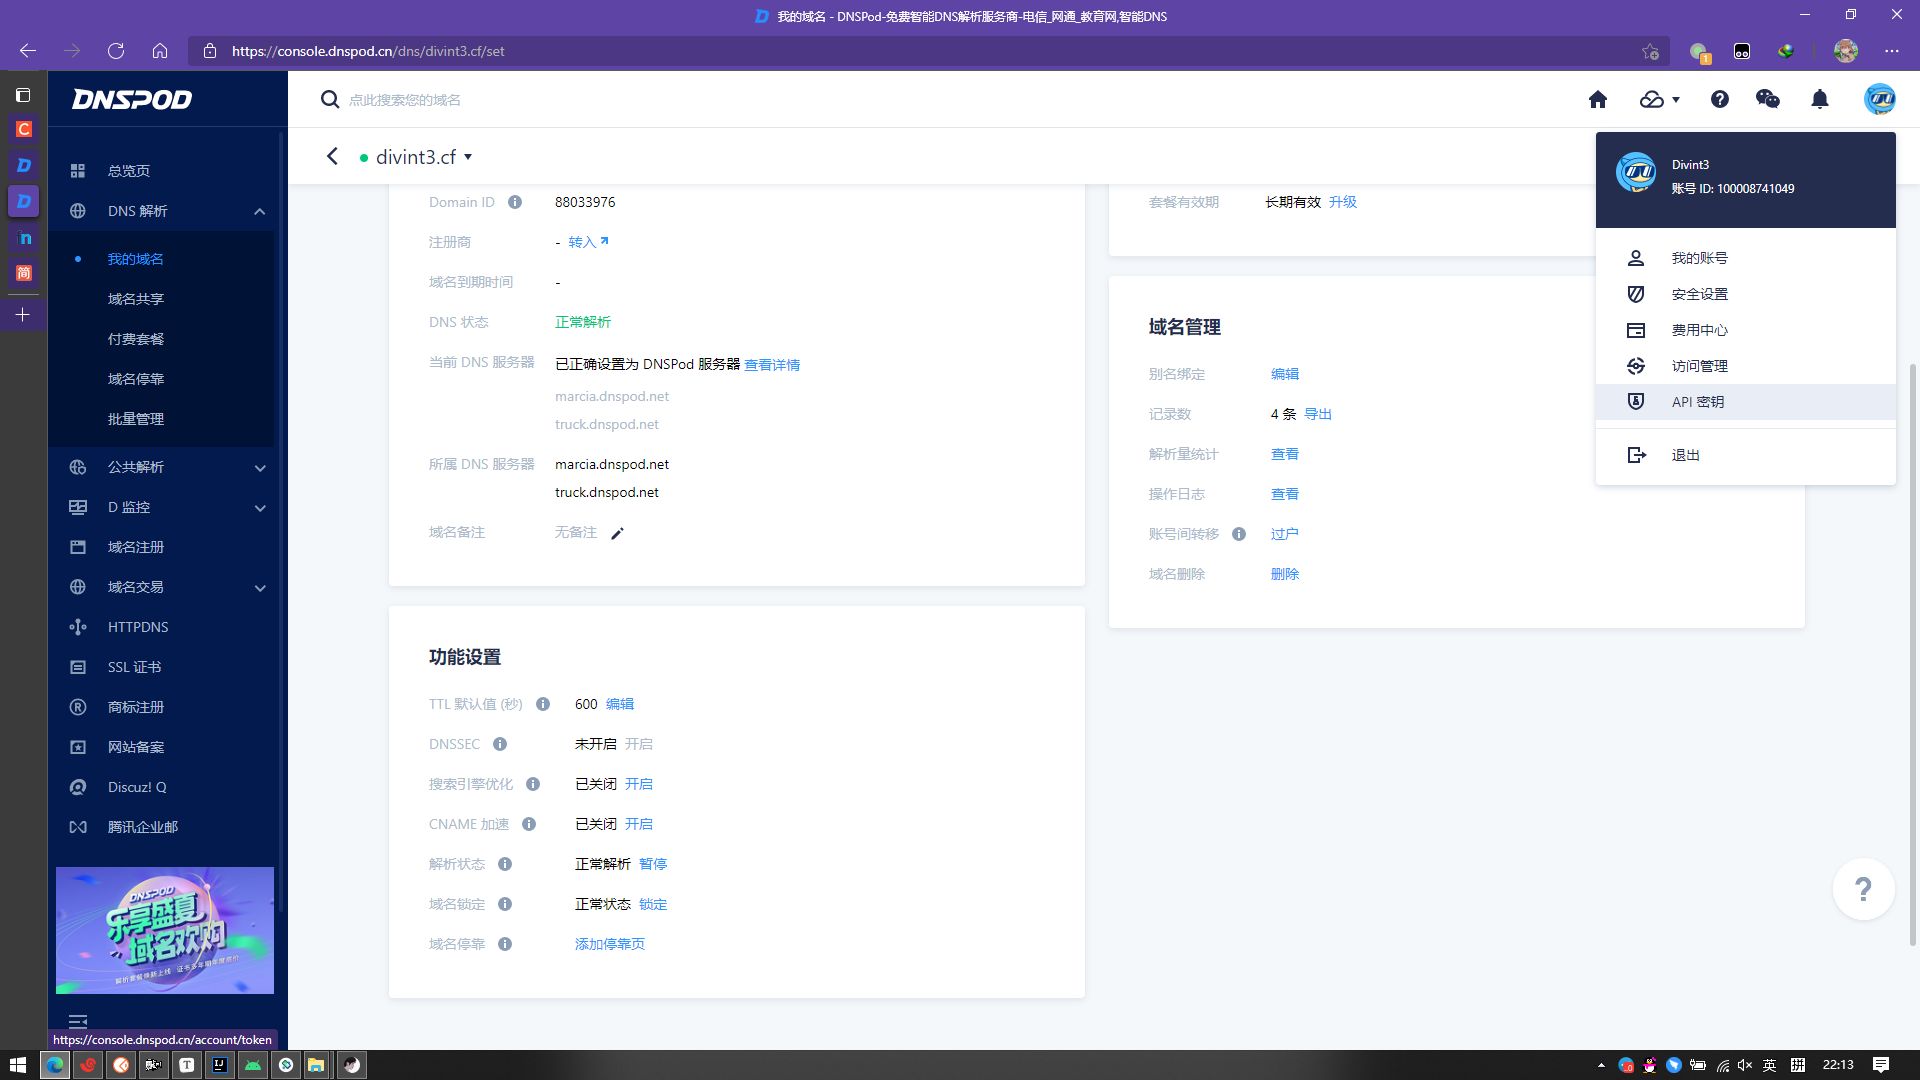
获得密钥

保存ID和Token
在.bash_rc中注册全局变量
1 | export DP_Id="123" #DNSPod密钥ID |
先注册,再生成证书,使用DNS方式
1 | # 安装 |
我们可以在这里

可以找到证书

在这里
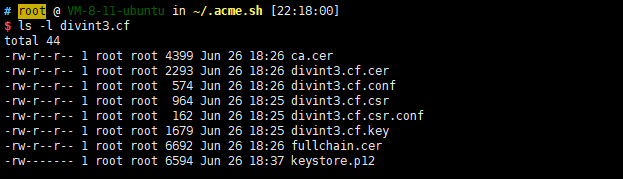
转换指令(转换为pkcs12证书)
1 | openssl pkcs12 -export \ |
application.yaml配置ssl访问
1 | server: |
参考
Let's Encrypt 证书申请及配置 - 简书 (jianshu.com)
在Spring Boot中配置ssl证书实现https - 简书 (jianshu.com)
让我们加密保护的Spring Boot | 码农家园 (codenong.com)
ffmpeg实用命令
记录了常用的ffmpeg脚本及命令